

How To Remove A Background Using Gimp
In today's tutorial I'll be demonstrating how you lot tin apply GIMP to delete an image's groundwork to transparent while leaving the subject in place.
There'due south a variety of ways to accomplish this with GIMP, but I'll be roofing the primary methods that are easiest to utilise equally a beginner. The method you should employ depends on the blazon of image y'all're working with and how comfortable you lot are using GIMP to delete backgrounds to transparent.
If you already know how these methods work but are having trouble with making your image delete to transparency instead of white, blackness, or some other layer's properties, be certain to check my post nearly erasing to transparent using GIMP.
Using GIMP To Delete Groundwork To Transparent
The following video tutorial will walk you through 5 dissimilar ways in which you tin delete a background with GIMP:
Continue on for the written instructions.
The first step is to create a selection from either the discipline or the background. Whatever is easiest is what you should choose. Also, exist sure to check out the video tutorial at the peak of the page where I demonstrate how each of these works!
Method 1: Fuzzy Select Tool
According to GIMP's documentation, the Fuzzy Select Tool allows you to select areas of an image based on color similarity. This method works not bad if your epitome's background has a different array of colors than the subject you lot'd like to crop out.
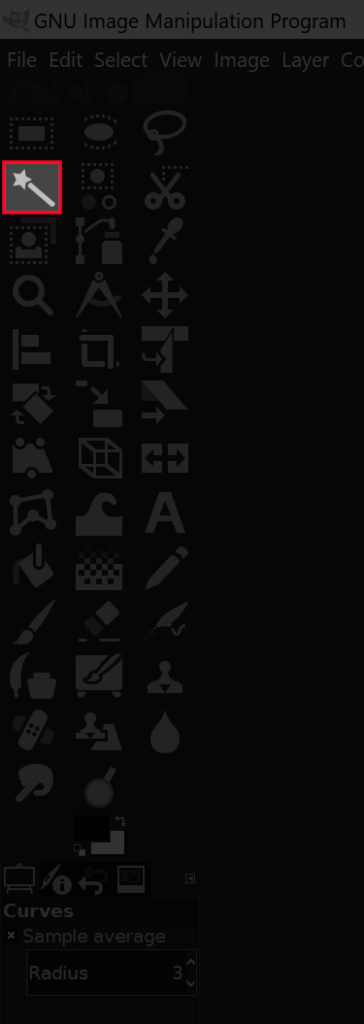
Grab the Fuzzy Select Tool by clicking on the icon highlighted in the above image, or simply press U on your keyboard.
With the tool selected, click and elevate on your subject area to create a selection. Drag the cursor to the correct to increase the size of the selection and to the left to subtract it. You lot can add to your selection past holding Shift and clicking on another area, and you can remove unwanted selections by property Command and clicking on them.
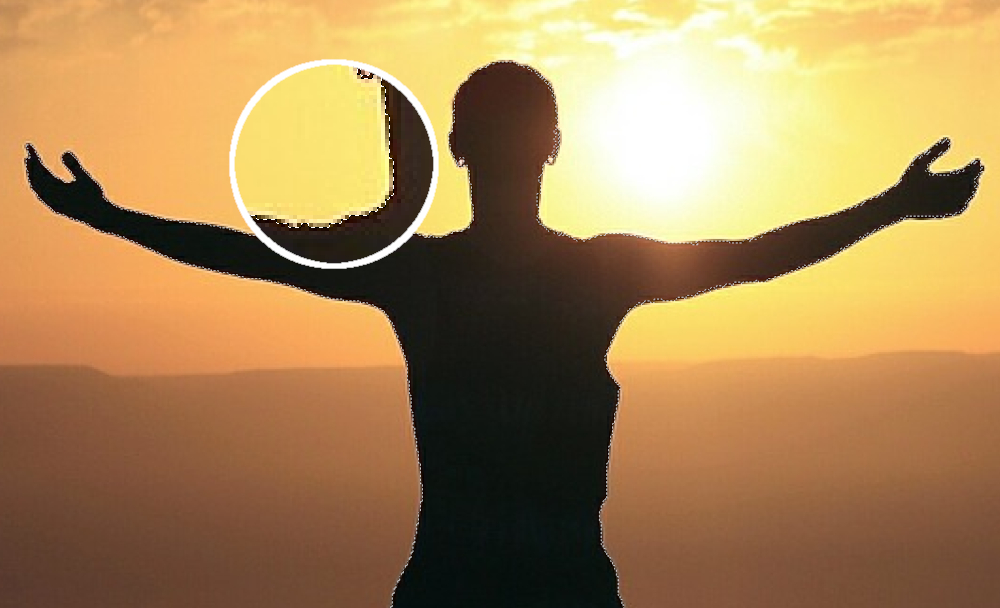
This volition create a dotted outline around your bailiwick known every bit a selection. If y'all created the selection by clicking on the groundwork, simply press Delete on your keyboard (or become to Edit > Clear if using Mac) and you lot will take successfully used GIMP to delete your image's background to transparent.

If you created the selection by clicking on your bailiwick, y'all'll but have your subject selected. Since you want to delete the background and non the subject, only go to Select > Invert. Nada will change visibly on the screen when you do this, but what happened is you inverted the selection so that yous now accept the groundwork selected and not the foreground. One time you've done that, but press Delete.
Method 2: Select By Color Tool
An even simpler method — like to the Fuzzy Select Tool — is the Select Past Color tool. Once yous click on a specific pixel with this tool, information technology will create a option around it and every other pixel with the same color. This tool works bully if y'all have an image where your background consists of just a single color and mayhap a few different shades of it.
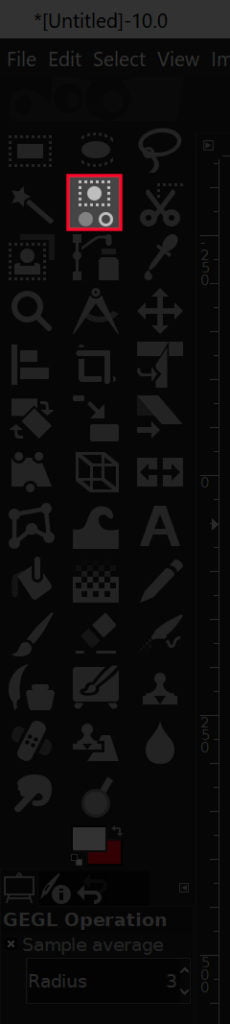
Take hold of the Select Past Color tool by clicking on the icon highlighted to a higher place, or by simply pressing Shift + O on your keyboard.

As previously mentioned, only click on a segment of the image that contains the color you'd like to delete. You lot tin can increase the size of the pick by clicking and dragging to the right, or decrease it by clicking and dragging to the left. You can also select additional shades of the same color past belongings Shift and clicking on them likewise.
Once you'd created a selection from your background, press Delete on your keyboard, or go to Edit > Clear if you lot're using Mac.

If it's easier for you to create a selection from your foreground/subject instead, go alee and exercise so, then merely get to Select > Articulate before deleting the selection.
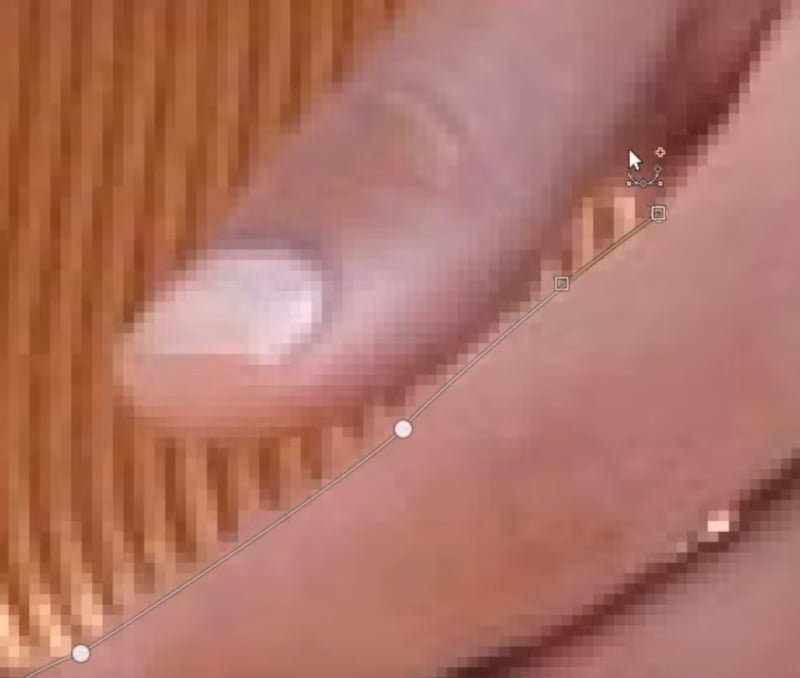
Method iii: Paths Tool
This is the method that requires the well-nigh skill and takes the well-nigh time, just it's also the best method of using GIMP to delete background to transparent in my opinion because it produces the cleanest, most professional issue. This is the method that was used to crop the bird image in the header of this post — the Paths tool.
The Paths tool allows you to create a pick by manually placing smooth lines and curves via node placement. This is the ideal method to use if there is but non enough contrast between your image'south bailiwick and groundwork for the previous methods to piece of work.
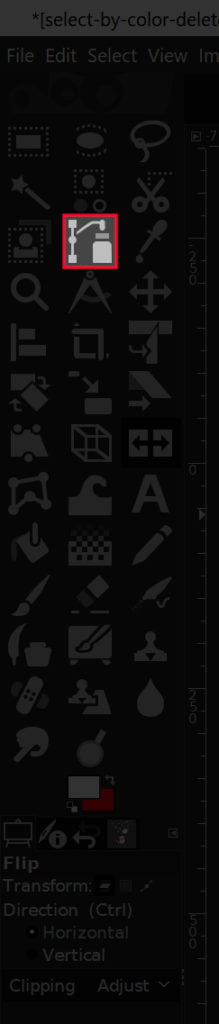
Catch the Paths tool by clicking the icon indicated in a higher place or past using the keyboard shortcut, which is B.
Since this method is far too nuanced and complicated to try explaining via written text, I'd suggest watching the post-obit video tutorial I created a while back. The video has voice narration and step-by-footstep instructions that fifty-fifty a first-fourth dimension used can follow along with.
Skip to the three:59 point in the video for the segment about using the Paths tool to delete backgrounds to transparent using GIMP.
Method 4: Layer Masks
The final method I'll be outlining isn't necessarily a tool, but rather a series of functions. The thought behind this method is to strip down your paradigm to black and white, and then adjust the color curves to create some separation between the foreground and the groundwork. Once that's done, we'll use layer masks to ascertain the transparent areas.
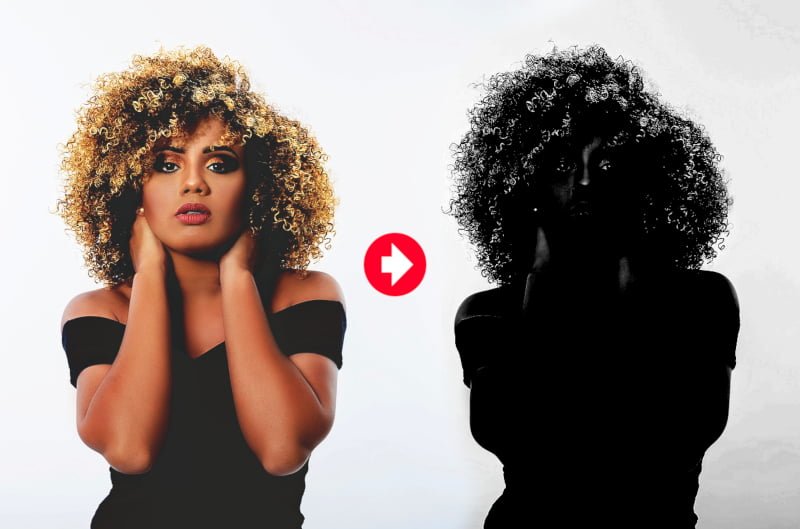
This method is ideal for cropping out subjects with fine details like fur or strands of pilus. However, it's the most complicated method of the 4 I've over, so information technology'south much easier for me to explain it via video…
Bear in heed that this method won't work for all images. There has to exist some degree of dissimilarity between your field of study and the background.
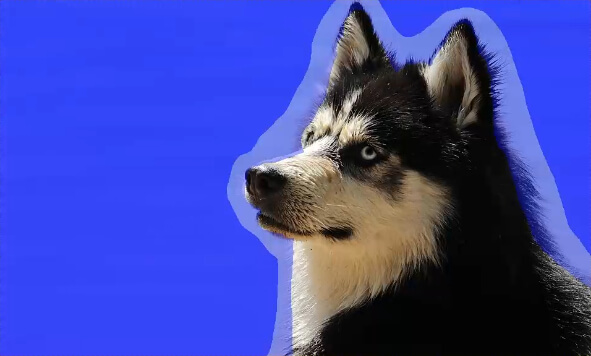
Method 5: Foreground Select Tool
The concluding method that I'll be going over is the Foreground Select tool. This method would also exist a good choice if your subject area has a lot of fine details, similar strands of hair.
To become started, grab the Foreground Select tool and manually draw a rough outline effectually your subject. Don't worry about it existence precise, this is simply meant to exist a very rudimentary tracing. This will create a dark blueish area over your background and a low-cal blueish area over your foreground.

What y'all can exercise now is manually castor in the areas of your subject, making sure not to get too shut to the boundaries. You can increase and decrease the size of your brush past using your left and correct bracket keys. Once again, don't worry likewise much nigh this beingness a precise tracing. This can exist a unproblematic, rudimentary outline.
Once you're finished, you can toggle the preview setting to come across how it looks.
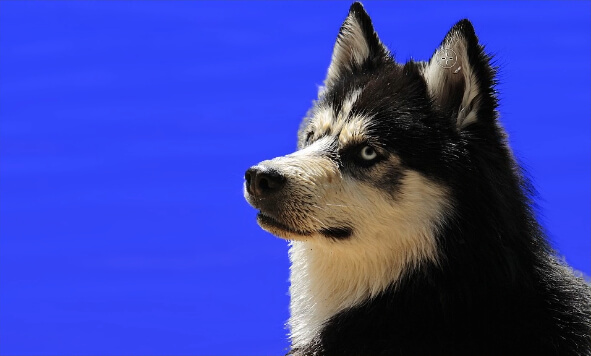
If you're happy with how it looks, press Enter on the keyboard to catechumen it into a selection. So, invert the option by going to Select > Capsize, and then press Delete on your keyboard to remove the background.

And that should do it for this tutorial virtually deleting backgrounds to transparent with GIMP! If yous have whatever questions merely go out a annotate beneath. As always, thank you for watching!

Become A Master of Adobe Illustrator!
Desire to acquire more about how Adobe Illustrator works? Check out my Illustrator Explainer Serial - a comprehensive collection of over 100 videos where I go over every tool, feature and function and explain what it is, how it works, and why it'due south useful.
Logos By Nick LLC is a participant in the Amazon Services LLC Assembly Program, an affiliate advertising program designed to provide a means for sites to earn advertising fees by advertising and linking to Amazon.com. Every bit an Amazon Associate I earn from qualifying purchases. Read affiliate disclosure hither.

How To Remove A Background Using Gimp,
Source: https://logosbynick.com/gimp-delete-background-to-transparent/
Posted by: lopezbricip1961.blogspot.com
0 Response to "How To Remove A Background Using Gimp"
Post a Comment